
Garage Door Parts Diagram: A Comprehensive Guide (2026)
Understanding manual garage door systems is crucial for effective maintenance and repair; detailed diagrams illustrate components like springs, cables, rollers, and tracks.
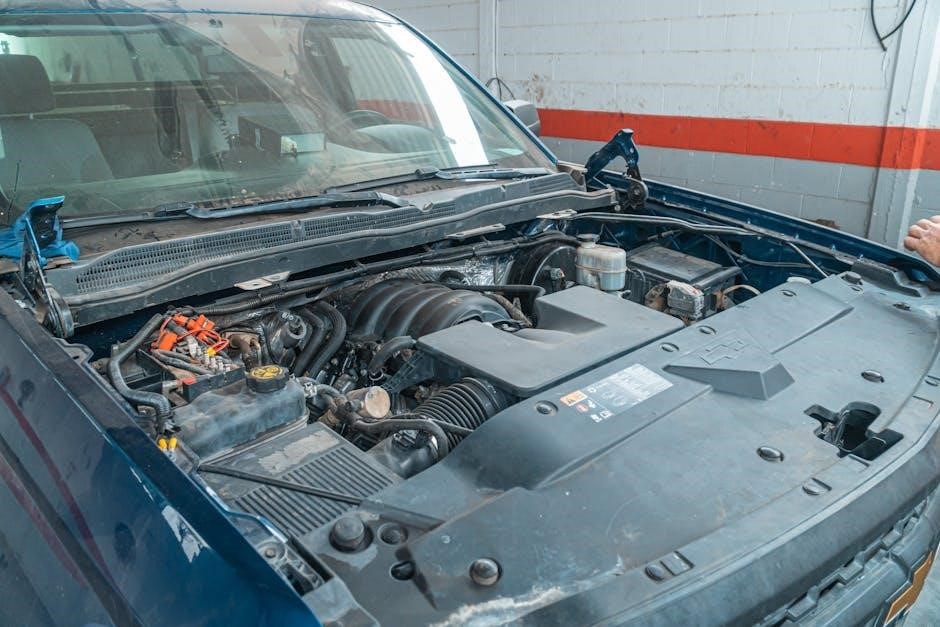
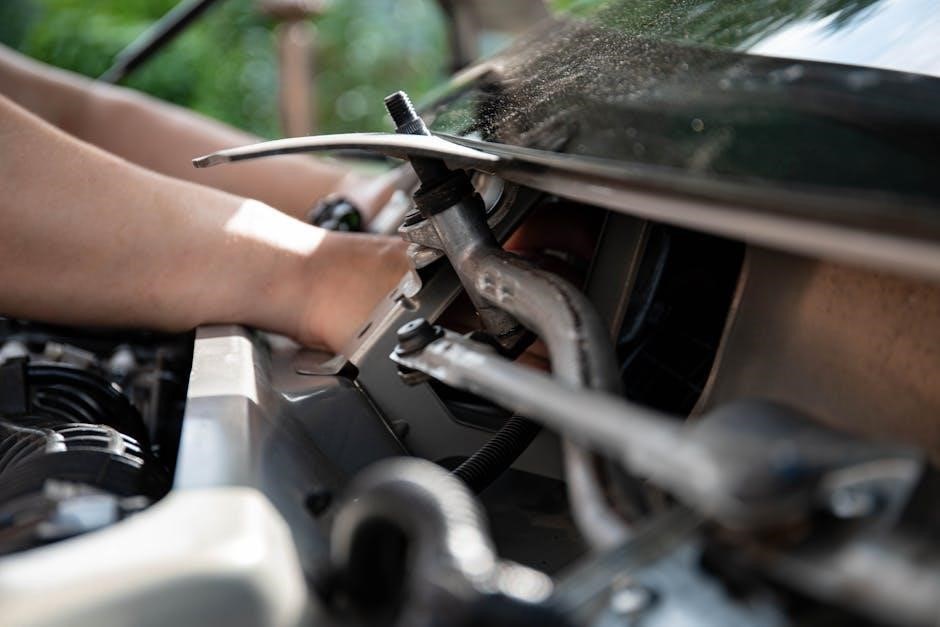
Garage door systems, even manual ones, are complex assemblies of interconnected parts working in harmony. A foundational understanding of these components is vital for homeowners and professionals alike. Manual systems, relying on physical force rather than electric motors, still incorporate essential elements like door panels, tracks, rollers, springs, and cables.
These systems demand regular inspection and maintenance to ensure smooth operation and longevity. Identifying each part and its function is the first step towards effective troubleshooting and repair. Diagrams serve as invaluable visual aids, clearly illustrating the relationship between components. Understanding the interplay between the spring system – torsion or extension – and the cable/drum assembly is particularly important for safe and efficient operation.
Furthermore, recognizing the role of tracks and rollers in guiding the door’s movement is key. A comprehensive parts diagram empowers users to pinpoint potential issues and address them proactively, preventing costly repairs and ensuring continued functionality of their manual garage door system.
Types of Garage Doors & Diagram Relevance
Various garage door types – sectional, roll-up, side-hinged – necessitate slightly different parts diagrams, though core components remain consistent. Sectional doors, the most common, are divided into panels moving along tracks, while roll-up doors curl upwards. Side-hinged doors swing outwards like traditional doors.
A universal diagram, however, highlights the fundamental elements present in most manual systems: springs, cables, rollers, tracks, and panels. The relevance of a detailed diagram increases exponentially when tackling repairs or maintenance. It allows for accurate identification of specific parts needed for replacement or adjustment.
Even with variations in door style, understanding the basic mechanics illustrated in a comprehensive diagram is crucial. Knowing how these parts interact, regardless of the door type, empowers users to diagnose issues effectively and perform necessary repairs safely and efficiently, extending the lifespan of their garage door.

Essential Garage Door Components
Key components in a manual system include tracks, rollers, cables, drums, springs, and panels; a diagram clarifies their arrangement and function for maintenance.
Garage Door Tracks: Vertical and Horizontal
Garage door tracks are fundamental to smooth operation, guiding the door panels along their travel path. These tracks consist of two main sections: vertical tracks running along the sides of the garage opening, and horizontal tracks extending inwards towards the ceiling. A detailed parts diagram clearly illustrates how these sections connect and align.
Proper track alignment is critical; even slight misalignments can cause binding, uneven movement, or complete failure; Vertical tracks must be plumb, while horizontal tracks require precise leveling. Inspecting for bends, dents, or corrosion is essential during routine maintenance. Rollers within the tracks should move freely without obstruction. Understanding the track system through a diagram aids in identifying potential issues and performing necessary adjustments or replacements, ensuring safe and reliable door functionality.
Garage Door Rollers and Hinges
Rollers and hinges are integral to the flexible movement of garage door panels. A comprehensive parts diagram showcases the placement and types of these components. Rollers, typically made of nylon or steel, fit within the garage door tracks, allowing the door to ascend and descend smoothly. Hinges connect adjacent door panels, enabling the door to bend as it travels along the curved track path.
Regular inspection of rollers and hinges is vital. Worn or damaged rollers can cause noisy operation and increased friction, while faulty hinges can lead to panel separation. A diagram helps pinpoint the location of each component for easy assessment. Replacing worn parts proactively prevents more significant issues. Different hinge numbers correspond to specific panel positions, as illustrated in detailed diagrams, ensuring correct installation and optimal door performance.
Garage Door Cables and Drums
Garage door cables and drums work in tandem to lift the weight of the door. A detailed parts diagram clearly illustrates how these components interact within the system. Cables, typically galvanized steel, wind around the drums, transferring the force from the springs to lift the door. Drums are mounted above the door opening and are responsible for spooling and unspooling the cables as the door moves.
Proper cable tension and drum functionality are critical for safe operation. A diagram aids in understanding the correct cable routing and winding direction. Inspecting cables for fraying or damage, and drums for proper alignment, is essential preventative maintenance. Replacing damaged cables is a task best left to professionals due to the high tension involved. The diagram helps visualize the entire assembly, assisting in identifying potential issues and ensuring correct repairs.
The Garage Door Spring System
Springs counterbalance the door’s weight, and a diagram reveals torsion or extension types; understanding their mechanics is vital for safe manual operation.
Torsion Spring System Explained
Torsion spring systems utilize springs positioned above the garage door opening, mounted on a steel shaft. A detailed parts diagram showcases how these springs twist to store energy, counteracting the door’s weight. These systems generally offer a smoother, quieter operation compared to extension springs, and are commonly found in doors with higher usage.
The diagram highlights the spring’s winding cones, cable drums, and the stationary and winding drums. Understanding the spring’s wire gauge and length is crucial for proper balance. Incorrect spring selection can lead to dangerous operational issues, emphasizing the need for professional installation or careful study of a comprehensive diagram. Safety is paramount when working with torsion springs due to the immense energy they store; a visual guide aids in identifying potential hazards and proper handling procedures.
Extension Spring System Explained
Extension spring systems employ springs running along the horizontal tracks on either side of the garage door. A manual garage door parts diagram clearly illustrates how these springs stretch to store energy, lifting the door. These systems are often more affordable than torsion springs but require more headroom and can be noisier during operation.
The diagram details the spring’s travel length, safety cables (crucial for preventing injury if a spring breaks), and the attachment points to the door and tracks; Proper spring length and weight rating are vital for balanced operation and longevity. Extension springs are susceptible to corrosion, so regular inspection is key. A detailed diagram assists in identifying worn or damaged components, promoting safe and effective maintenance. Always disconnect the door from the opener before working on extension springs.
Garage Door Opener Mechanics
Opener systems utilize motors and rails to automate door function; diagrams showcase the motor unit, rail assembly, and chain/belt drive for manual understanding.
Garage Door Opener Motor Unit
The motor unit is the powerhouse of automated garage doors, converting electrical energy into mechanical force. A detailed parts diagram reveals its internal components, including the motor itself, typically an AC or DC type, responsible for lifting and lowering the door.
Essential elements within the unit are the capacitor, initiating and sustaining the motor’s operation, and the circuit board, acting as the brain, controlling functions like safety features and remote access.
The logic board manages the travel limits, determining how far the door opens and closes, and often incorporates smart home integration capabilities. Diagrams also highlight the gear assembly, which translates the motor’s rotational force into linear motion, driving the rail system. Understanding these components, as shown in a comprehensive diagram, is vital for troubleshooting and repair, ensuring smooth and reliable garage door operation.
Garage Door Opener Rail System
The rail system acts as the pathway for the garage door, translating the motor’s power into upward and downward movement; A detailed parts diagram showcases the various components, starting with the rail itself, typically constructed from steel or aluminum for durability and strength.
Crucially, the rail connects directly to the motor unit and the door’s carriage, utilizing rollers to ensure smooth travel along its length. The rail often features multiple sections, allowing for adjustments to accommodate different door heights and garage configurations.
Understanding the rail’s components – including the curved section that directs the door upwards, and the straight sections providing horizontal travel – is essential for diagnosing issues like binding or misalignment. A clear diagram aids in identifying worn or damaged parts, facilitating efficient repairs and maintaining optimal garage door functionality.
Safety Features & Sensors
Essential safety components, like photo eyes and release mechanisms, are clearly illustrated in diagrams, ensuring safe operation and preventing accidental closures.
Photo Eyes: Function and Placement
Photo eyes are critical safety sensors found on modern garage door systems, though understanding their function is valuable even for manual doors. These devices, also known as infrared sensors, utilize a beam of invisible light to detect obstructions in the garage door’s path. Typically, one photo eye is mounted a few inches above the floor on each side of the door opening.
If the beam is broken by an object – a child, pet, or vehicle – the garage door opener (if present) will immediately stop and reverse, preventing potential injury or damage. While a purely manual door doesn’t have an opener to interface with, understanding this principle highlights the importance of clear visibility and cautious operation. Diagrams clearly show the correct height and alignment for optimal performance, ensuring the safety of anyone near the door during operation. Proper placement is paramount for reliable obstruction detection.
Safety Release Mechanism
The safety release mechanism is a vital component, even on manual garage doors, allowing for disengagement of the door from the opener in emergency situations – or, in the case of a manual door, providing a way to manually override a stuck or jammed system. This typically involves a red cord hanging from the release lever located on the garage door’s trolley.
Pulling this cord disconnects the door from the opener’s carriage, enabling manual operation. Diagrams illustrate the lever’s precise location and the cord’s path. For a purely manual door, understanding this mechanism is crucial for safely managing a door that’s become difficult to lift or lower. It allows for controlled descent or ascent, preventing sudden drops or forceful closures. Familiarity with its operation is essential for safe maintenance and troubleshooting, ensuring user control at all times.

Hardware and Miscellaneous Parts
Essential hardware includes panels, sections, handles, locks, and weather stripping; diagrams detail their placement and function, aiding in repair or replacement efforts.
Garage Door Panels & Sections
Garage door panels are the visible exterior components, typically constructed from steel, wood, aluminum, or fiberglass, and contribute significantly to the door’s overall aesthetic and insulation value. A manual garage door is often segmented into distinct sections connected by hinges, allowing for vertical travel along the tracks. Diagrams clearly illustrate how these sections interlock and move, revealing the importance of proper alignment for smooth operation.

Understanding panel construction – including the internal bracing and skin material – is vital for assessing damage and determining repair feasibility. Different panel designs, such as raised or flush, impact the door’s appearance and structural integrity. Detailed parts diagrams pinpoint the location of reinforcement points and highlight potential weak spots. Identifying the panel material is crucial when sourcing replacement parts, ensuring compatibility and longevity. Proper panel maintenance, including cleaning and painting, protects against corrosion and extends the door’s lifespan.
Garage Door Handles & Locks
Garage door handles and locks provide essential security and operational control, even on manual systems. Diagrams showcase various handle types – from simple lever handles to more elaborate designs – and their connection points to the door’s lifting mechanism. Understanding the locking mechanism is crucial for preventing unauthorized access and ensuring peace of mind.
Manual garage doors often utilize a simple spring-loaded latch or a more robust deadbolt lock. Parts diagrams detail the internal workings of these locks, illustrating how they engage with the door frame. Identifying the lock’s components – including the cylinder, keyway, and strike plate – aids in troubleshooting and repair. Proper lubrication of the locking mechanism ensures smooth operation and prevents corrosion. Replacement handles and locks should match the door’s style and security requirements, maintaining both functionality and aesthetic appeal.
Troubleshooting with a Parts Diagram
A manual garage door parts diagram pinpoints failure points quickly; identifying damaged rollers, frayed cables, or bent tracks simplifies repair processes effectively.
Identifying Common Failure Points
Utilizing a manual garage door parts diagram is paramount when diagnosing issues. Frequent failure points include worn rollers, causing noisy operation and potential track damage. Springs, especially in older systems, are prone to breakage, rendering the door inoperable and posing safety risks. Cables can fray over time, leading to snapping and imbalance.
Hinges often exhibit rust and stiffness, hindering smooth door movement. Track sections may become bent or misaligned, obstructing roller travel. A detailed diagram helps pinpoint these specific areas quickly. Regularly inspecting these components, guided by the diagram, allows for proactive maintenance. Ignoring these warning signs can escalate minor issues into costly repairs or necessitate complete door replacement. Prioritizing visual checks and understanding component interdependencies, as illustrated in the diagram, is key to efficient troubleshooting.
Using the Diagram for Repair
A manual garage door parts diagram transforms repair from guesswork to a systematic process. Begin by precisely identifying the faulty component on the diagram, then locate it on your door. This visual guide clarifies the correct replacement part needed, preventing incorrect orders. Diagrams illustrate the order of assembly and disassembly, crucial for complex repairs like spring replacement or cable adjustments.
Always disconnect power (if applicable) and utilize appropriate safety gear. The diagram reveals fastener locations and types, ensuring proper reassembly. Referencing the diagram during each step minimizes errors and ensures structural integrity. For intricate tasks, consider consulting a professional if unsure. A well-utilized diagram empowers DIY repairs, saving costs and extending the life of your garage door system.